Getting Started with Azure Data Studio (ADS)

Getting Started with Azure Data Studio (ADS)
When SQL Server was ported to the Linux operating system, Microsoft realized that they needed a tool that could be used to work with SQL Server instances on that platform. Porting SSMS would have been a very large project, and potentially not even possible, but Visual Studio Code was a development GUI that already ran on Windows, Linux, and macOS. Microsoft decided to fork this tool and build a cross platform data management tool.
Azure Data Studio (ADS) is the result. This blog post will examine how to get started with this tool and connect to your SQL Server instances.
Downloading ADS
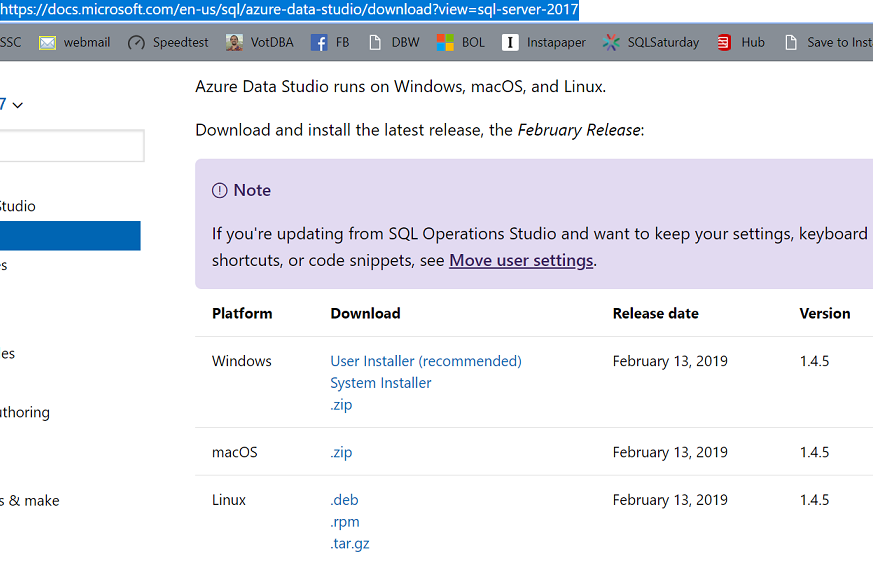
The first step in getting started is to download the tool. You can browse to the download page for Azure Data Studio at: https://docs.microsoft.com/en-us/sql/azure-data-studio/download?view=sql-server-2017 . Next, find the download file for your operating system.
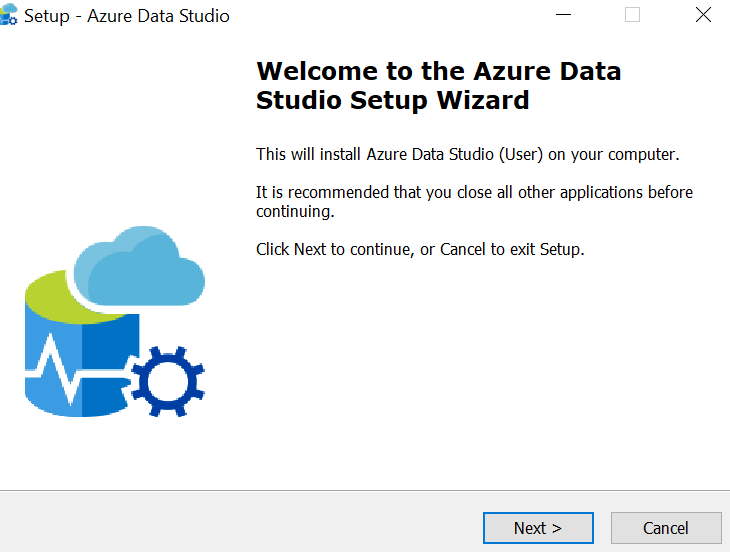
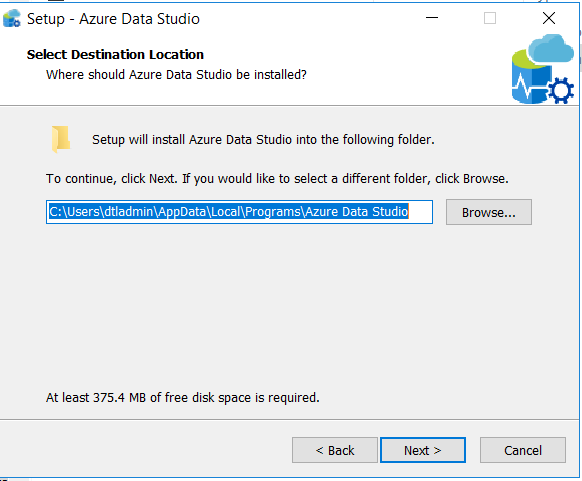
Click on Next for the Setup Wizard and go with the default options.
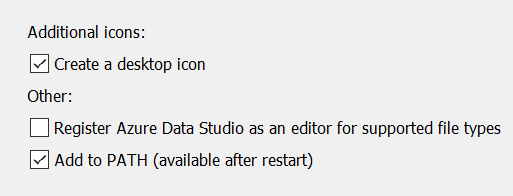
The one place to perhaps change the defaults is on this page.
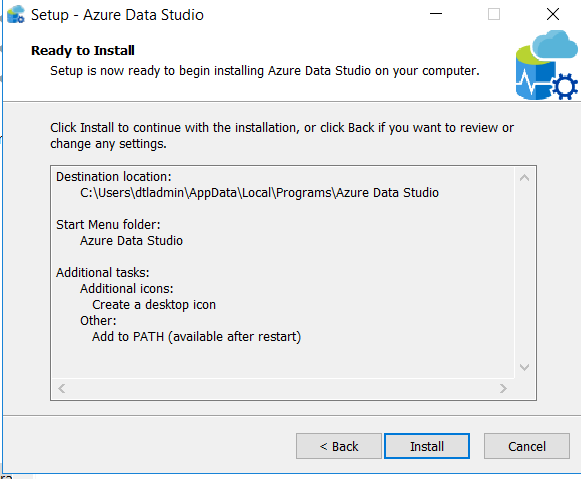
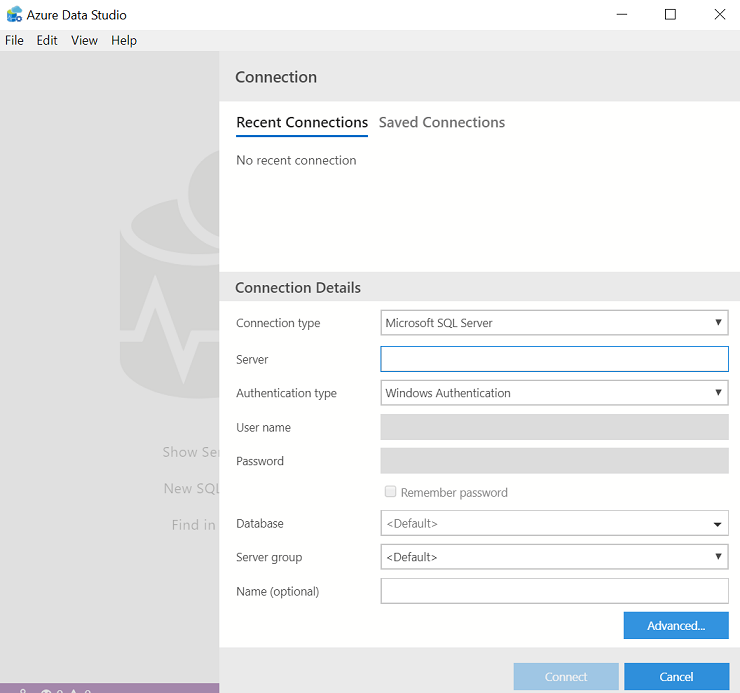
Once the wizard completes the installation, by default this will launch ADS when you click Finish. When ADS launch, you should see this:
Connecting to an Instance
We can specify the server details, Authentication type as shown below to connect to a server.
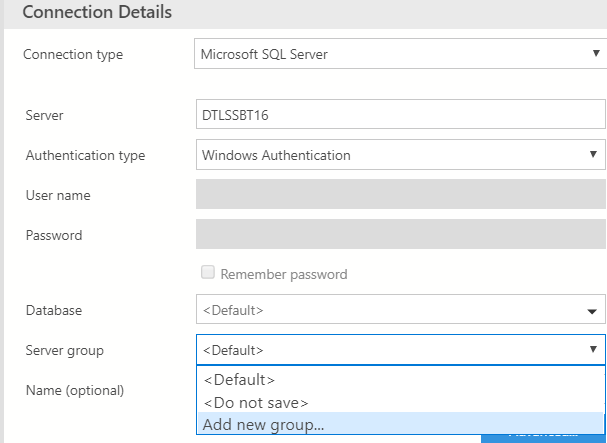
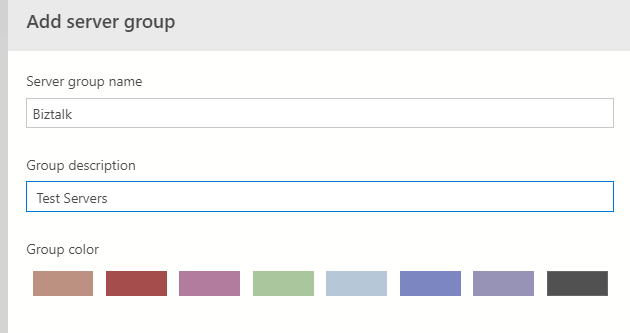
ADS also allow us to group servers. A drop down at the bottom of the connection dialog has options for picking an existing group or adding a new one. If we select the “Add new group” option a new dialog will open where we can enter a name, description, and choose a colour for the connection.
Let’s Click on Connect now to connect to the server. ADS will open a connection and give me a dashboard on the right side of the screen. On the left, we’ll see the server groups and then a set of menu icons on the far left.
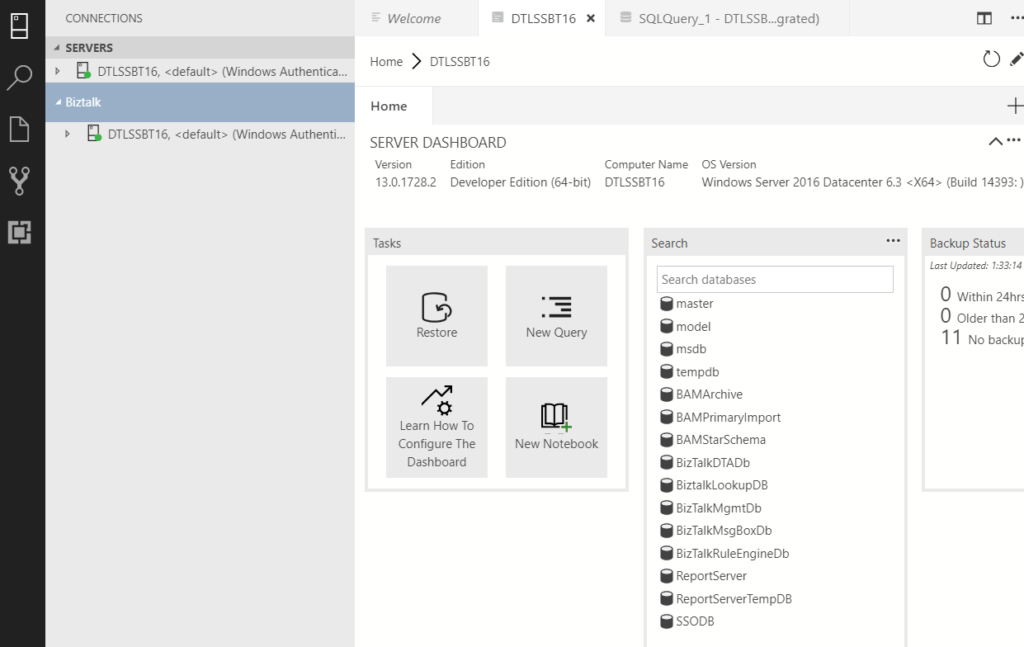
The Sections
There are three sections in Azure Data Studio. There are the tabbed areas where you work, which are the large areas. The dashboard takes up one of these areas. On the far left is the menu column, which contains these items:
- Servers
- Task History
- Explorer
- Search
- Source Control
- Extensions
- Azure
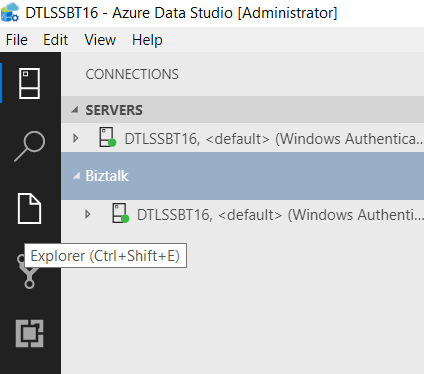
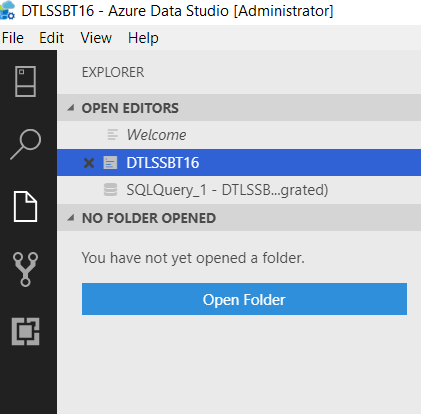
Each of these can be clicked and it will open or close the middle column, with details for that menu item. For example, if I click the Servers button, it closes my connection list. Clicking Explorer on the left pane opens a different list
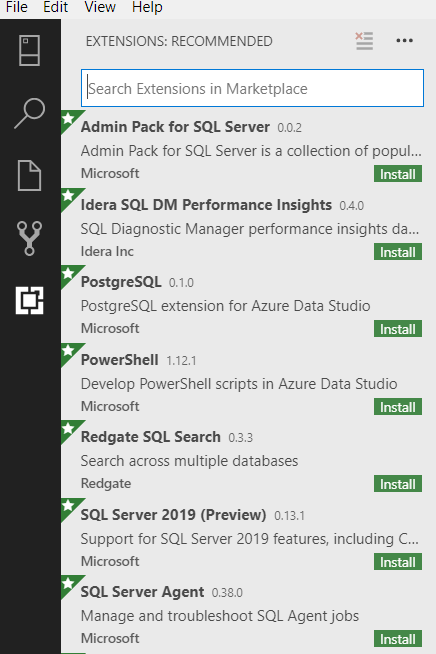
The Extensions menu contains various add-ons for ADS, similar to add-ons for Visual Studio Code. If you click this, you see a list of extensions by Microsoft, other companies, and various individuals.
Running A Query
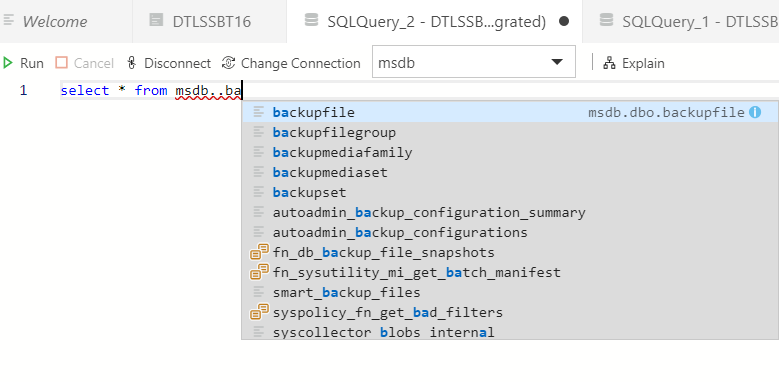
The main purpose behind ADS is to give you a query tool that consistently works on all platforms. Let’s see how to run a query. On my Dashboard, I’ll click the New Query button. This opens a new tab. I could also do this in the File menu. We can start typing a query, like we would do in SSMS. By default, intellisense is enabled.
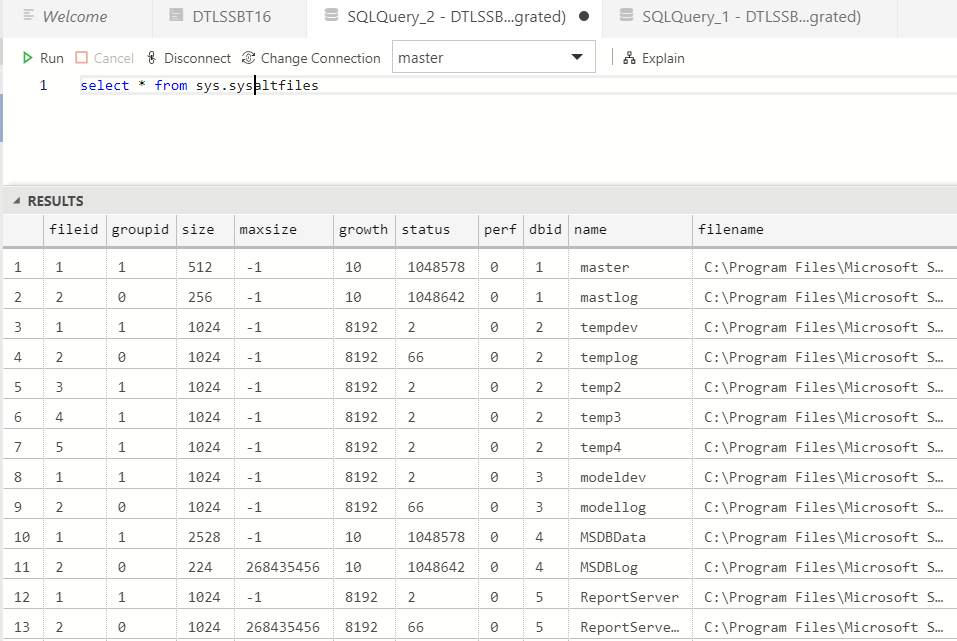
After writing the query we can click “Run” at the top. This will run the query and return the results and messages panes below the query.
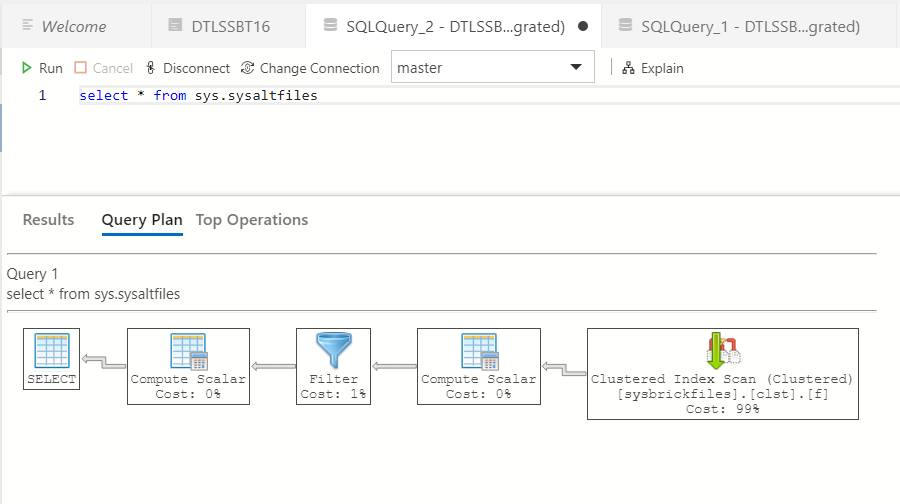
If you click “Explain” at the top, you will see the graphical query plan.
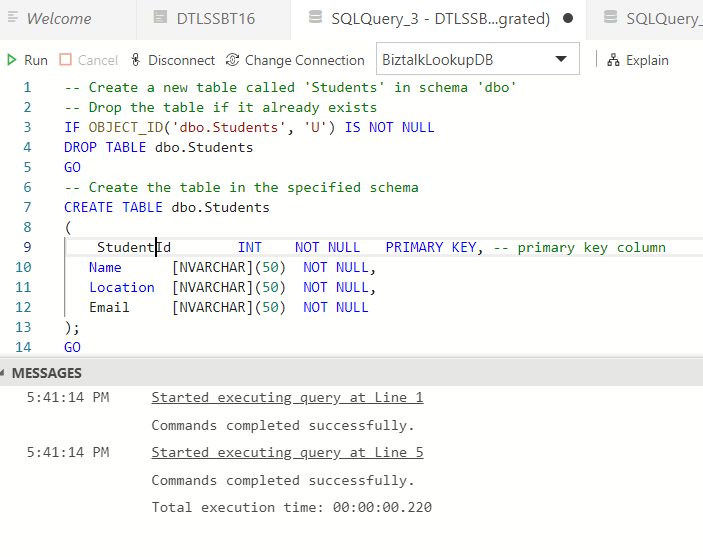
Create a table
The following query creates a table namely Student in BiztalkLookupDB.
Features Available in Azure data studio
Using built-in T-SQL code snippets
Code snippets in Azure Data Studio are templates that make it easy to create databases and database objects. Azure Data Studio provides several T-SQL snippets to assist you with quickly generating the proper syntax. User-defined code snippets can also be created.
To access the available snippets, type sql in the query editor to open the list:
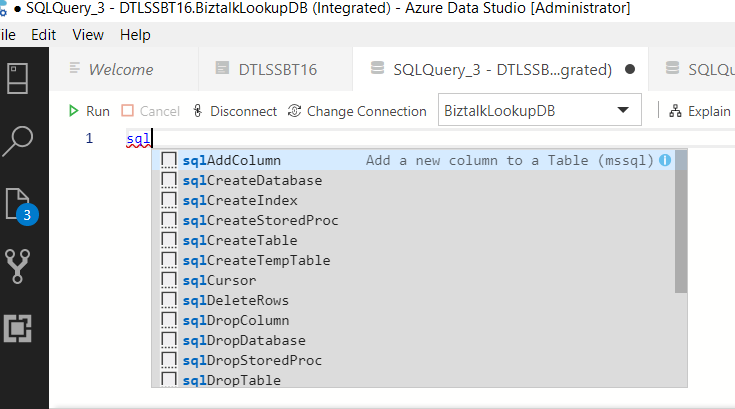
We can select the snippet we want to use, and it generates the T-SQL script. For example, select sqlCreateStoredProc:

We can Update the highlighted fields with specific values. For example, replace StoredProcName and parameters with the required values. Similarly, we can also create Snippets as per our requirement.
Quickly locate a database object and perform a common task
Azure Data Studio provides a search widget to quickly find database objects. The results list provides a context menu for common tasks relevant to the selected object, such as Edit Data for a table.
1.Open the SERVERS sidebar (Ctrl+G), expand Databases, and select BiztalkLookUpDB.
2.Open the BiztalkLookUpDB Dashboard by right-clicking BiztalkLookUpDB and selecting Manage from the context menu:
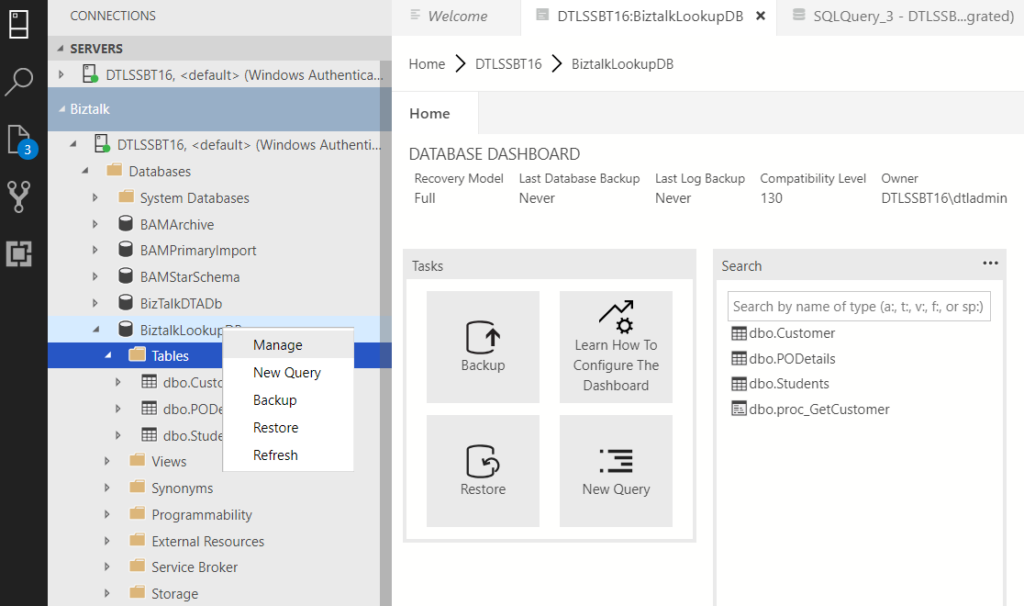
For databases with many objects, use the search widget to quickly locate the table, view, etc. that you’re looking for.
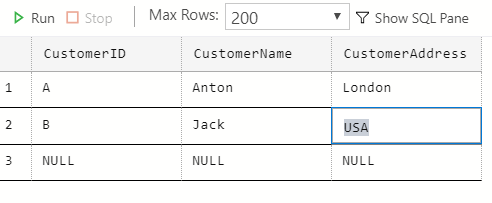
We can right click on the database table and edit the data. Eg: Edit Address in Customer table. After updating click enter to Save.
Customizable Server and Database Dashboards
We can create rich customizable dashboards to monitor and quickly troubleshoot performance bottlenecks in our databases using insight widgets. Insight widgets take the Transact-SQL (T-SQL) queries we use to monitor servers & databases and turns them into insightful visualizations.
Insights are customizable charts and graphs that we add to server and database monitoring dashboards. View at-a-glance insights of your servers and databases, then drill into more details, and launch management actions that you define.
Integrated Terminal
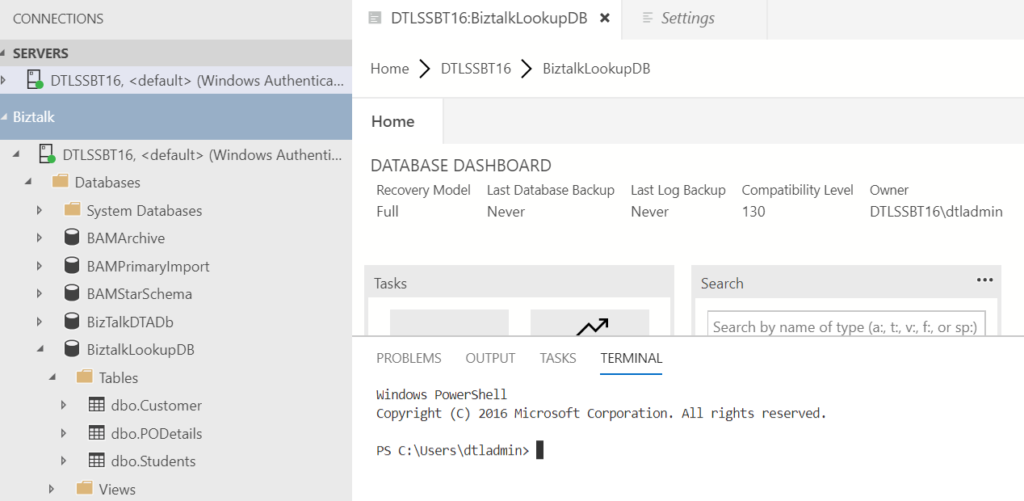
In Azure Data Studio, you can open an integrated terminal, initially starting at the root of your workspace. This can be convenient as you don’t have to switch windows or alter the state of an existing terminal to perform a quick command-line task.
To open the terminal:
•Use the Ctrl+` keyboard shortcut with the backtick character.
•Use the View | Integrated Terminal menu command.
•From the Command Palette (Ctrl+Shift+P), use the View: Toggle Integrated Terminal command.
SQL Notebook
With Azure SQL Studio, we can create human-readable documents in SQL Notebook that can include rich format text, code, images. It can also include the query results set in the documents. DBAs can prepare and run the books, troubleshooting guides, baseline documents to store SQL queries, steps and output of these queries. A notebook makes it easy to link lots of docs and code together.
Launching Notebook
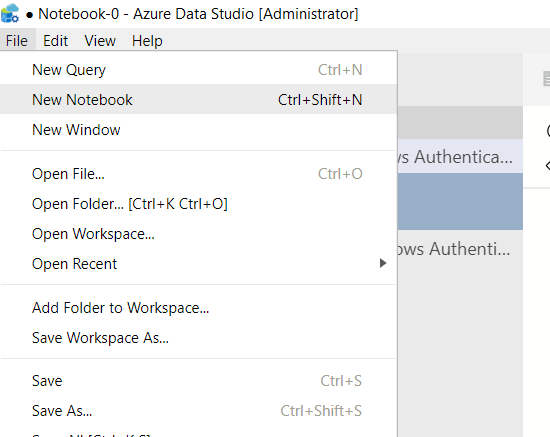
We can click on +Code to add a t-SQL code in the Notebook. We can execute code in this as well. Click on Run Cells to execute code inside it.
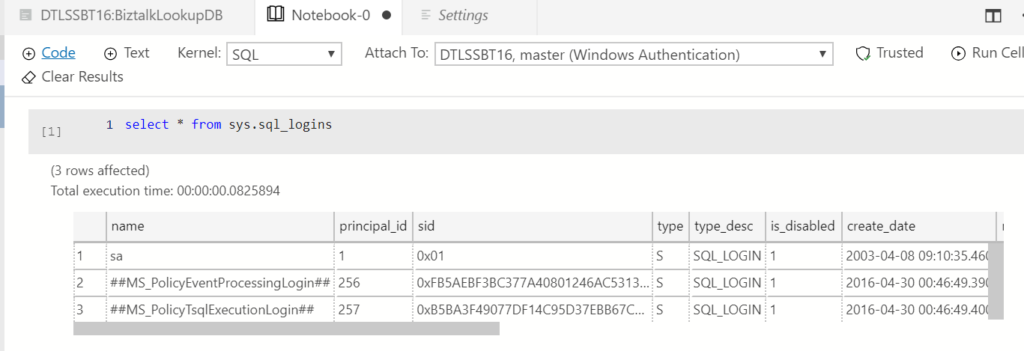
To save a Notebook, go to File and click on Save As.We can Clear the results as well if we do no want to save it.
Thus, we can quickly write t-SQL using NoteBook and Azure Data Studio Code Snippets helps to write code effectively. We can use existing Code Snippets or write custom Code Snippets as well.
Extensions
Extensions in Azure Data Studio provide an easy way to add more functionality to the base Azure Data Studio installation
SQL agent extension
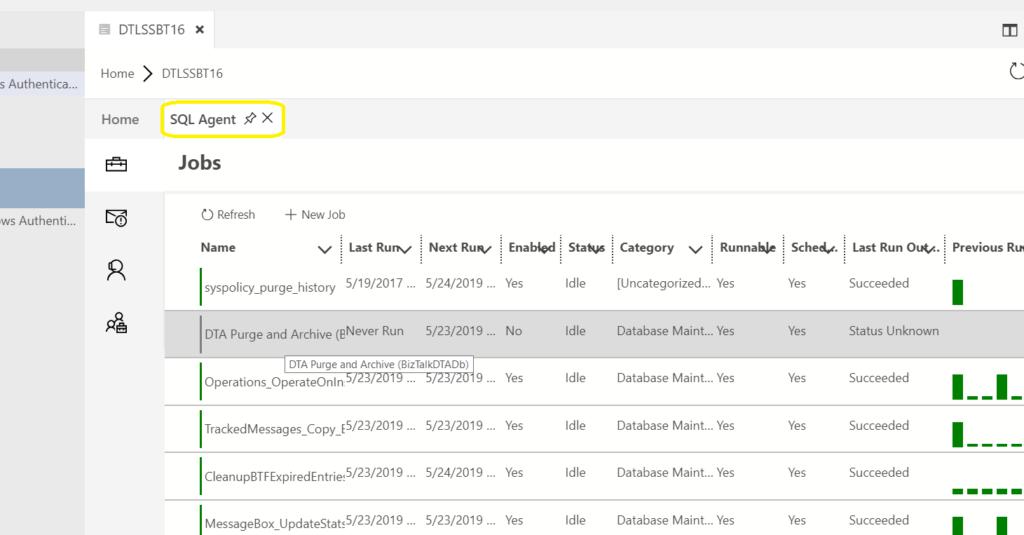
The SQL Server Agent extension (preview) is an extension for managing and troubleshooting SQL Agent jobs and configuration. This extension is currently in preview.
Key actions include:
•List SQL Server Agent Jobs Configured on a SQL Server
•View Job History with job execution results
•Basic Job Control to start and stop jobs
We can install the extension and the Installed extensions appear as tabs on your management dashboard:
Conclusion
Azure Data Studio is tightly focused on the experiences around query editing and data development. Additional high-value administrative features such as backup, restore, agent job management, and server profiling are also available as extensions in Azure Data Studio. Azure Data Studio is also cross-platform, allowing users to work on their platform of choice.
Users of Azure Data Studio can create customizable dashboards to monitor and troubleshoot performance bottlenecks and other issues in databases and at the server level. The tool includes separate server and database dashboards, which can be configured with insight widgets to provide at-a-glance views of performance levels, system usage and other metrics. In addition to viewing that information, users can back up and restore databases, edit the data in database tables and perform other management tasks from inside the dashboards effectively.
Overall, it’s a good tool for users who: –
- Need to run on macOS or Linux
- Spend most of their time editing or executing queries
- Need the ability to quickly chart and visualize result sets
- Can execute most administrative tasks via the integrated terminal using sqlcmd or PowerShell
- Have minimal need for wizard experiences
- Do not need to do deep administrative configuration like user management, security management, registered servers etc.